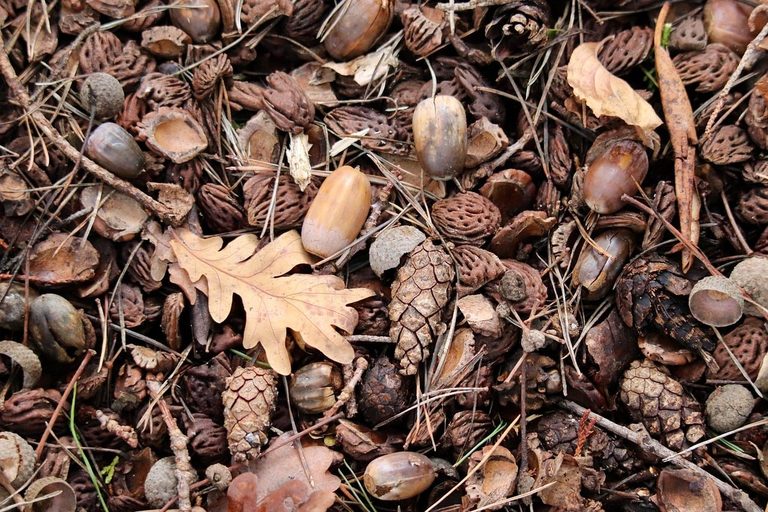
Can leaf litter give a tank a fall look without dye?
Dried oak, beech, and Indian almond leaves can tint tank water tea-brown without dye. Learn which leaves to use, how many, and how long they last.
Expanding foam can work in a fish tank if you buy pond-and-stone foam, cure it fully, and soak it before adding fish. Here's how to do it safely.
Jack·8 min read·October 21, 2026
You're standing in the hardware aisle with a picture in your head: a carved rock wall behind a waterfall, or a stream bank your fish can swim under. And there's a can of spray foam on the shelf. So does expanding foam belong in a fish tank? Yes, if you use the right kind and let it cure completely. Get the pond-and-stone foam, not whatever can is cheapest. Let it cure all the way through, rinse and soak it, and know the cases where it's the wrong material.
Hobbyists have been building rock walls, caves and backgrounds out of cured polyurethane foam for a long time. One retired admin of Monster Fish Keepers, a big-fish forum, used pond foam for aquarium backgrounds and called it "100% fish safe once cured (24 hours)." That was back in 2011, and people still build the same way.
Two rules make it work. First, buy foam made for ponds and stone work. Great Stuff Pond & Stone is the one most builders use, and its product listing calls it "safe for fish." Second, stay away from open-cell foam, which soaks up water and falls apart.
Keep in mind where the "safe" claim comes from. It's the manufacturer's word plus many years of hobbyists keeping fish alive around it. There's no independent lab study behind it. I think that's enough to go ahead, but it's also why the curing and soaking steps below matter.
Great Stuff Pond & Stone is black and sold as a "water-shedding aquascape, landscape/hardscape foam filler, sealer and adhesive for damp or dry application." The listing says it's fish-safe and suited to koi ponds and fountains. It comes in a 12 oz can, and the maker says one can does the work of up to 19 tubes of caulk.
The general-purpose cans beside it on the shelf are made to seal and insulate walls, and the labels don't say anything about fish. Some forum users argue the pond version costs extra for no real difference. Even so, I'd pay for the can that actually says it's for water features and fish. If a fish gets sick, you want to know the foam was sold for that job.
The type of foam matters more than the brand:
The black color is a bonus too. When a scratch or a carved edge shows through, it looks like shadow, not bright yellow.
The label says the foam cures in 8 hours, but treat that as the earliest it could be ready. The Monster Fish Keepers builder waited about 24 hours, and that's what most hobbyists do. How fast it cures depends on temperature, humidity and how thick the bead is. In fall, an unheated garage gets cold at night, so give it more time, not less.
Thickness is where people get into trouble. This foam cures by pulling moisture out of the air. In a thick fill, the outside hardens while the inside can stay wet and uncured, sealed in where you can't see it. The Singapore guide says:
Building in thin layers takes longer, but each layer cures all the way through before the next one covers it.
Spray safely, too. The can is labeled "FLAMMABLE DURING DISPENSING." Turn off pilot lights and anything else that could spark, wear gloves and eye protection, and hold the can upside down as the directions say. Uncured foam contains isocyanates, which can irritate your airways, so work outside or with plenty of airflow. The sticky foam is also very hard to get off skin, so keep your gloves on.
Once it's cured, experienced builders disagree about what to do next.
The unsealed camp. The Monster Fish Keepers builder said you don't need to seal it at all. You can carve the cured foam and put it straight in. On Nano-Reef, a reef-tank forum, a builder reportedly skipped sealing too and just rinsed the piece several times.
The epoxy camp. The Singapore guide calls sealing optional. If you do it, use two thin coats of pond-grade epoxy, 24 hours apart. It says epoxy prevents the slow pH drift that can come from a finished background. On the Aquarium Co-Op forum, the advice has been to use aquarium-safe epoxy resin rather than ordinary paint or sealant.
The reason for epoxy is that paint wears off. Water, scrubbing and fish that graze surfaces will strip a painted coat. Then you have flakes in the water and bare foam showing through, which looks worse than if you'd never painted.
Whichever way you go, rinse and soak it before any fish go in. The Singapore guide's routine is to soak the piece in tap water for 14–21 days, change the water every three days, and call it ready once the pH stays neutral for 72 hours. That routine is for a cement-coated background, which leaches more than bare foam, so it's stricter than a plain foam build needs. It's still a good habit. Test the soak water the same way you'd test a tank during cycling. If the pH holds steady, you're in good shape.
Even well-cured foam has limits, and you'll find them fast if you don't plan for them.
In my opinion, foam is the wrong choice for animals that tear at surfaces: big plecos, cichlids that dig and bite, or anything that chews on its decor. If your animals will work at a wall every day, use real rock, slate or a sealed hard surface.
Climbers are another thing to think about. A textured foam wall makes a good ladder. When I ran my tank with fish, little crabs and fire-bellied frogs together, I learned fast to replace the light kit with a full screen lid, because crabs and some reptiles get out of almost anything. A foam bank that reaches toward the rim makes that lid even more important.
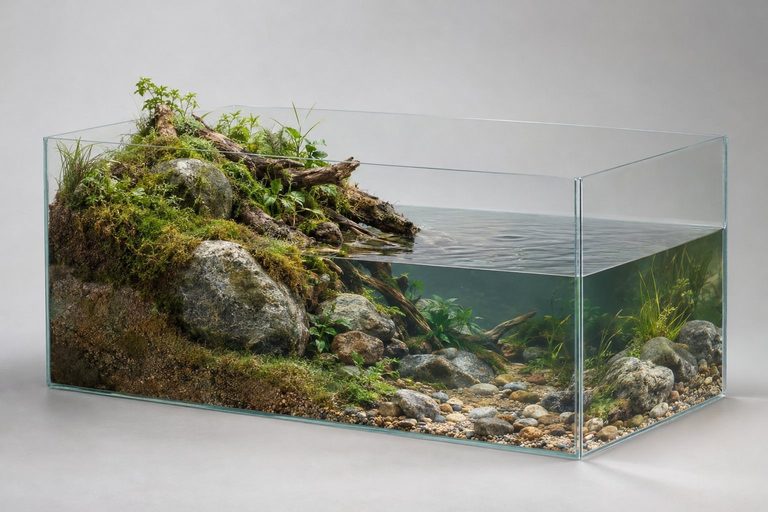
My RTK-XL kit in a 55-gallon long pumped water up on the left, carried it across, and let it cascade down through three pools. Finn Strong Designs is long gone, so if you want that look today, foam is one of the easiest ways to build it yourself:
If you start this fall, you should have water running over finished rock well before Thanksgiving.
Photo by ivabalk on Pixabay.
Dried oak, beech, and Indian almond leaves can tint tank water tea-brown without dye. Learn which leaves to use, how many, and how long they last.
Yes, a rimless tank can carry a foam-and-stone riverbank if the glass, stand and foam are right. Here's how to check each before adding water.
Set up a riparium with rim holders for pothos, a light for leaves above water, and driftwood soaked until it sinks, plus a week-one checklist.