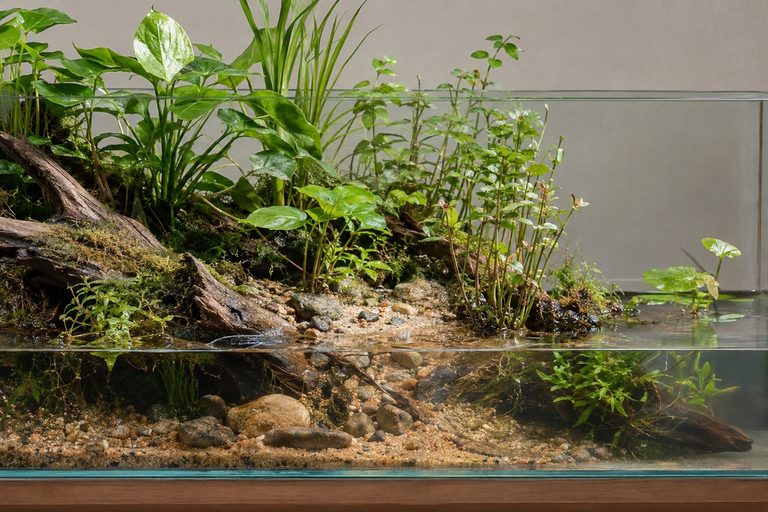
Rim holders, grow lights, and driftwood that won't sink: setting up a riparium
Set up a riparium with rim holders for pothos, a light for leaves above water, and driftwood soaked until it sinks, plus a week-one checklist.
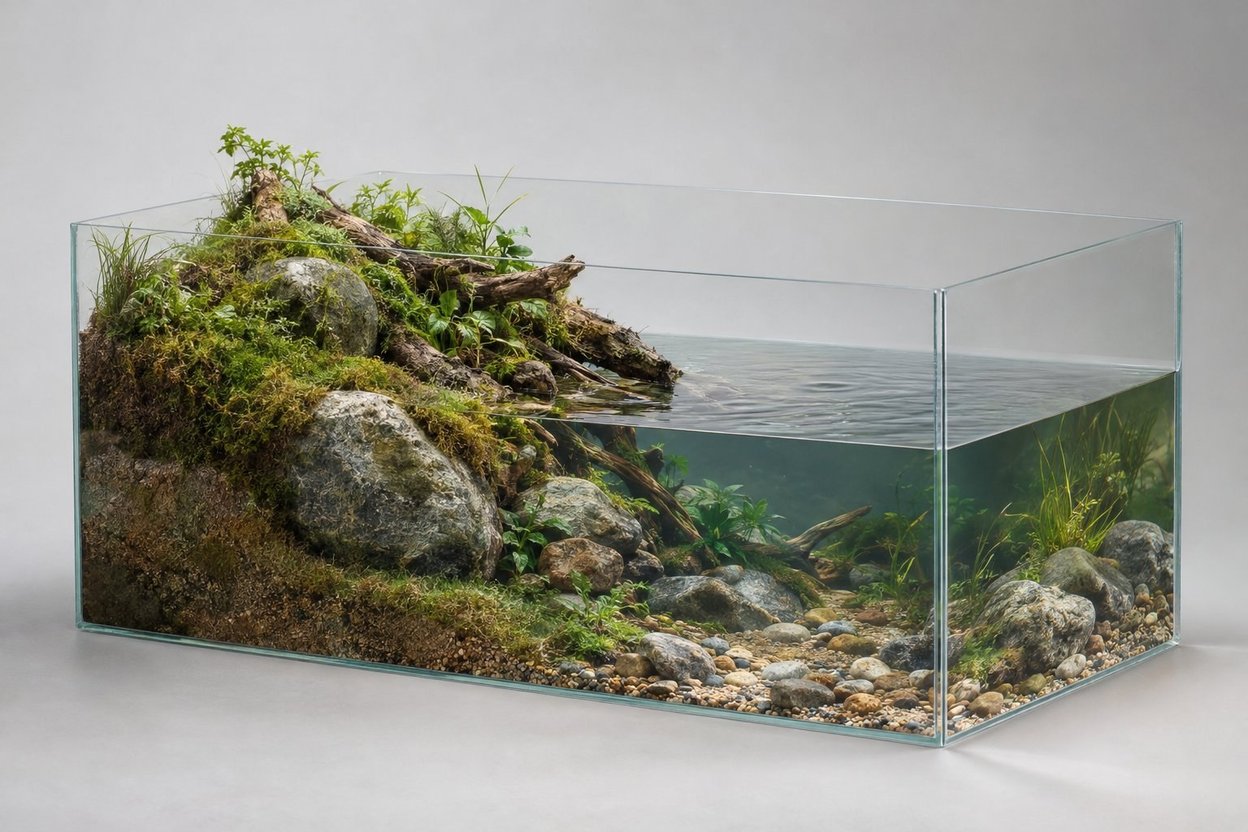
Yes, a rimless tank can carry a foam-and-stone riverbank if the glass, stand and foam are right. Here's how to check each before adding water.
Jack·8 min read·October 20, 2026
You've seen it in a store or on your phone: a rimless tank with water so clear the glass almost disappears. Now you're picturing a riverbank inside it, with stone sloping up out of the water, wood at the edge and plants rooted at the waterline. Then you wonder whether that bare glass, with no frame around it, can take the load. Yes, a rimless tank can carry a foam-and-stone bank. It works if the glass is thick enough for the tank's size, the tank sits on a flat, clean surface, and the foam is fully cured and sealed before any animal goes in.
"Rimless" is a style. It doesn't tell you how strong a tank is. Whether your tank can carry a bank depends on three things:
Get those right and the bank itself is the fun part. Foam is much lighter than the rock it imitates, and that's a real reason to build the bulk of a bank from foam instead of stacking stone. I can't give you a reliable number for how much lighter a finished bank is, though, so don't treat foam as weightless. A finished bank still has foam, cement, epoxy, real stone and wood in it, and all of it sits on the bottom pane.
Fall is a good time to start. One of the methods below needs about three weeks of curing before water can touch it. Start now and the tank can be running well before Thanksgiving.
A framed tank has a plastic rim around the top and bottom. The bottom rim lifts the glass slightly and spreads the load around the edges. A rimless tank doesn't have that. The bottom glass sits right on the stand or mat, and nothing above it braces the panels.
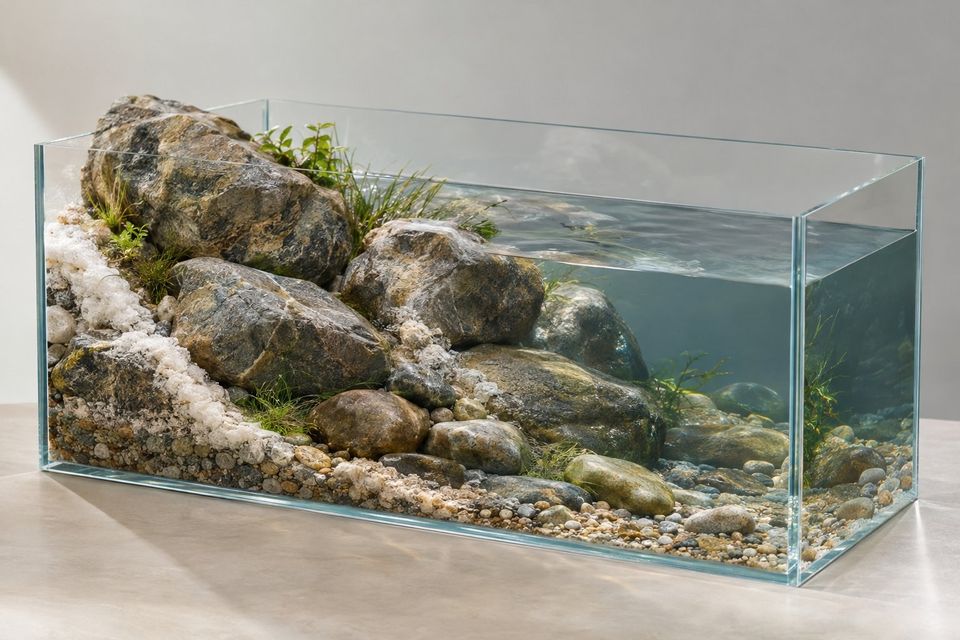
That puts all the stress on the bottom pane and on whatever is under it. Ultum Nature Systems (UNS), a well-known rimless brand, warns in its FAQ that "even a microscopic grain of sand on a stand can create concentrated stress points." A dent in the stand, a high spot in the wood or a speck of grit means the full weight of water, substrate and hardscape presses on one tiny area of glass. Add a heavy bank on one side and that pressure goes up on that side.
Glass thickness is the maker's answer, and it scales with size, especially height. Here's what UNS uses:
The 60S and 60U have the same footprint but different glass, because water pressure rises with depth. The longer, taller 120M jumps to 12 mm. You'll also find online rimless glass calculators, and they don't agree with each other. Don't use one to decide whether a tank you already own is "thick enough" for extra weight. Use the maker's spec for that exact tank.
Since the bottom pane rests right on the stand, the stand has to be flat, rigid and clean. Check it with a long level along the length, the width and both diagonals. Wipe it down right before the tank goes on.
Most rimless makers include a foam leveling mat. UNS ships a custom-fit black foam mat with its tanks and says it "absorbs micro-vibrations, levels surface irregularities, and protects against glass stress points." A mat evens out small flaws. It won't fix a stand that's warped, sagging or out of level. That has to be fixed before the mat goes down.
The tank listings above don't give stand requirements, and makers vary. Before you add a heavy bank, email the maker and ask three things:
Get the answers in writing and keep them. That covers you if anything goes wrong later.
There are two good ways to build the bank. You can also mix them.
Option 1: Pond & Stone spray foam. Great Stuff Pond & Stone is a foam adhesive made for water features. A distributor's listing says it "is safe for fish" and "cures in 8 hours." Use it to glue stone and wood into place, fill gaps and shape a slope. Shake the can for at least a minute before using it. The foam is flammable while it's coming out of the can, so work with gloves, eye protection and good ventilation, and keep it away from flames. The 8-hour figure is the minimum. I'd give it extra time before it goes near water.
Option 2: Carved polystyrene with a cement skin. This is the method for a sculpted, stone-look bank or back wall. Gensou, an aquarium shop in Singapore, publishes a step-by-step guide:
The guide gives two tests before you trust the piece:
Shrimp are sensitive, so a sample that keeps them fine for two days is a good sign. I'd also check the soak water's pH against plain tap water, since the guide warns that uncured cement touching water can throw off tank pH. The guide also warns that spray paints can take about six months to outgas, so stick to paints you know are safe under epoxy.
To mount a finished panel, the guide uses beads of silicone at the four corners. Use aquarium-safe silicone, not kitchen or bathroom grades, which can contain mold inhibitors.
Whichever option you pick, the order doesn't change: cure, seal, rinse, test, and only then add animals.
The bank should be mostly foam. Use real stone where it matters. Set the heaviest rocks flat on the bottom, low and toward the bank side, so they rest on the substrate instead of hanging off a foam ledge. Keep the bank off the glass seams, too. Don't wedge foam or rock hard into the corners where it presses on the silicone joints.
When it's all in place, do a test fill with no animals. Fill slowly and watch the first days closely. Check the seams, look under the bottom edge for wet spots on the mat, and test the water to make sure nothing is leaching from the bank.
One more thing from my own river tank. I ran the River Tank EcoSystem X-Large kit in a 55-gallon long for years, with water pumped up on the left and cascading down through three pools. Crabs and some reptiles get out of almost anything, so I swapped the light kit for a full screen lid. A riverbank is basically a ramp to the top of the glass, and rimless tanks are often run open. If anything in your tank climbs, plan a lid that fits before the bank goes in.
Set up a riparium with rim holders for pothos, a light for leaves above water, and driftwood soaked until it sinks, plus a week-one checklist.
Learn what a riparium is and what you need to build one: an open-top tank, planters, plants that tolerate wet roots, and light above the water.
Learn which Halloween ornaments are safe in a fish tank, why craft-store decor is risky, and a simple screening test before adding one.